How to Remove a Shed: A Comprehensive Guide
Removing a shed might seem like a daunting task, but with the right tools, preparation, and guidance, it can be done efficiently and safely. Whether your shed is old and falling apart or you simply need to clear space in your backyard, this guide will provide you with all the necessary steps to remove your shed without hassle.
Why Consider Shed Removal?
Sheds are often removed for a variety of reasons:
- Safety Concerns: An old, dilapidated shed can become a safety hazard.
- Space Utilization: Removing a shed can free up valuable space in your yard for new projects.
- Aesthetic Improvement: A rundown shed can detract from the overall look of your property.
- Property Value: Removing an eyesore can enhance the curb appeal and potentially increase the value of your property.
Tools and Equipment You Will Need
Before you start the shed removal process, gather the necessary tools:
- Safety Gear: Gloves, goggles, dust masks, and sturdy boots.
- Hand Tools: Hammer, screwdrivers, pry bars, and utility knife.
- Power Tools: Circular saw, drill, and reciprocating saw.
- Heavy-Duty Trash Bags: For disposal of smaller debris.
- Ladder: To safely reach the roof and upper sections of the shed.
- Tarps and Rope: To cover and secure debris.
Step-by-Step Shed Removal Process
1. Preparation and Safety Measures
Safety should always come first. Begin by wearing appropriate safety gear, including gloves, goggles, a dust mask, and sturdy boots. Inspect the shed for any hazardous materials like asbestos or lead paint, especially if it is an older structure. If you suspect the presence of hazardous materials, consult a professional before proceeding.
- Clear the Area: Remove all items from inside the shed. Clear the surrounding area to create a safe working environment.
- Check for Electrical Connections: Ensure that any electrical connections or wiring are safely disconnected by a qualified electrician.
- Notify Neighbors: Let your neighbors know about the shed removal to avoid any inconvenience due to noise or debris.
2. Dismantling the Shed Roof
The roof is often the most challenging part of a shed to dismantle due to its height and structure. Here’s how to tackle it:
- Remove Shingles or Roofing Material: Use a hammer or pry bar to remove shingles or other roofing materials. Be careful to avoid falling debris.
- Cut Roof Sections: Use a reciprocating saw to cut the roof into manageable sections. Always have a helper to steady the ladder and hold sections as you cut.
- Lower Sections Safely: Once a section is cut, carefully lower it to the ground. Avoid dropping it to prevent injury or damage.
3. Disassembling the Walls
With the roof removed, proceed to the walls. This part requires precision and patience:
- Unscrew or Pry Apart Panels: Start by removing any screws or nails holding the wall panels in place using a drill or hammer.
- Cut Large Panels: For larger panels, use a circular saw to cut them into smaller, more manageable pieces.
- Remove Studs: Use a pry bar to remove the wall studs carefully. Make sure the structure is stable before removing each stud to prevent collapse.
4. Handling the Shed Floor
The floor is usually the last part of the shed to remove. Here's how to do it:
- Lift Floor Panels: Use a pry bar to lift the floor panels. If they are nailed down, a hammer can help loosen them.
- Cut the Floor Joists: Use a reciprocating saw to cut through the floor joists if needed. Ensure all nails or screws are removed to avoid injury.
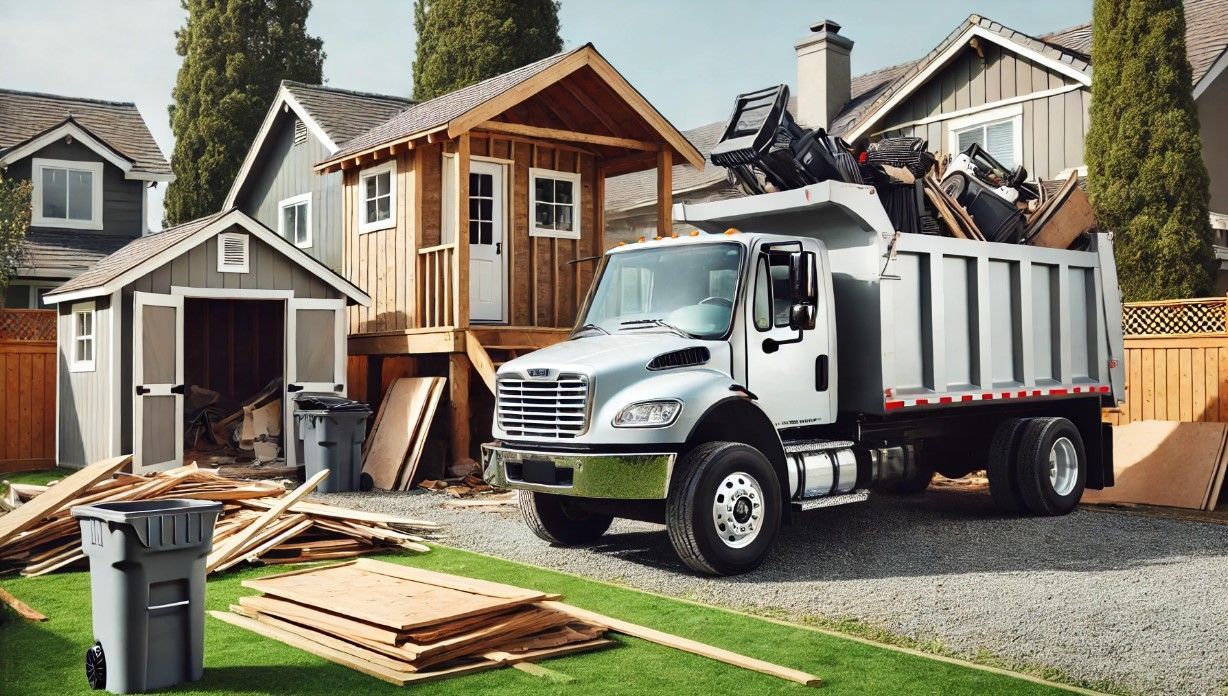
5. Cleanup and Disposal
Once the shed is fully dismantled, it’s time to clean up:
- Sort Materials: Separate wood, metal, and other materials. Consider recycling or repurposing usable materials.
- Dispose of Debris: Use heavy-duty trash bags for smaller debris and consider renting a dumpster for larger items.
- Sweep the Area: Ensure the area is clear of nails, screws, and other sharp objects to prevent injuries.
Tips for an Efficient Shed Removal
- Work with a Partner: Having an extra set of hands makes the job safer and faster.
- Plan Ahead: Know what you’re going to do with the debris and materials before you start.
- Stay Safe: Always use the right tools for the job and follow safety precautions.
FAQs on Shed Removal
Q: Do I need a permit to remove a shed?
A: This depends on your local regulations. Check with your city or county building department to see if a permit is required for shed removal.
Q: Can I remove a shed by myself?
A: While it’s possible to remove a small shed by yourself, having a partner is safer and more efficient. Larger sheds may require professional help.
Q: What should I do if my shed has asbestos?
A: If your shed contains asbestos, you should hire a
licensed professional to handle the removal. Asbestos is hazardous and requires specialized handling and disposal.
Shed Removal Cost Estimates
| Service Type | Average Cost |
|---|---|
| DIY Removal | $100 - $300 (Tools and Disposal Fees) |
| Professional Demolition | $500 - $2,000 |
| Hazardous Material Removal (e.g., Asbestos) | $1,000 - $3,000 |
Have you ever removed a shed? Share your experiences in the comments below! Do you have any tips or suggestions? We'd love to hear from you. If you found this guide helpful, please share it on your social media to help others tackle their shed removal projects!
To keep this content relevant, we'll regularly update this guide with the latest safety tips, tool recommendations, and regulations related to shed removal. Check back often for updates, and remember to follow safety guidelines for a successful project.
Furniture Removal
- Couch Removal
- Furniture Removal
- Mattress Removal
- Bed Removal
- Futon Removal
- Box Spring Removal
- Couch Removal
- Sofa Removal
- Love Seat Removal
- Sectional Removal
- Table Removal
- Chair Removal
- Office Furniture Removal
- Bulk Item Pickup
Appliance Removal
- Refrigerator Removal
- Appliance Removal
- Stove Removal
- Range Removal
- Microwave Removal
- Oven Removal
- Freezer Removal
- Dishwasher Removal
- Washer Removal
- Dryer Removal
Other Services
- Hot tub Junk Removal
- Dumpster Rentals
- Shed Junk Removal
- Hoarder house Cleanouts
- House Junk Removal
- Construction Waste Removal
- Garage Cleanouts
- Foreclosure Clear outs
- Eviction Clean outs
- Apartment Cleanouts
- Property Clean outs
- Estate Clean outs
- Hoarding Clean outs
- Yard Waste Removal
- Storage Unit Cleanouts
- Warehouse Cleanouts
- Commercial Junk Removal
OUR SERVICES AND AREAS
- Everett, WA
- Seattle, WA
- Marysville, WA
- Snohomish, WA
- Arlington, WA
- Mukilteo, WA
- Monroe, WA
- Granite Falls, WA
- Bothell, WA
- Whidbey Island, WA
- Stanwood, WA
- Edmonds, WA