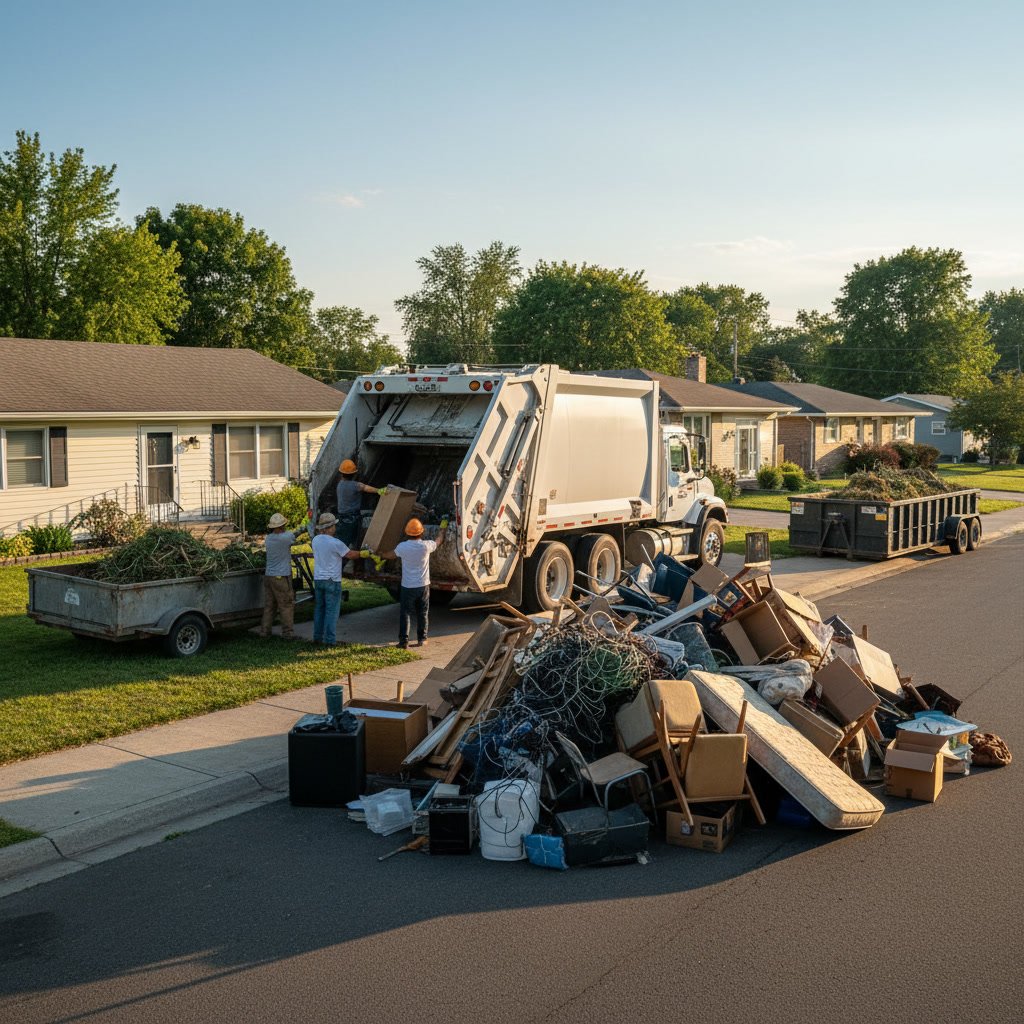

To prepare for light demolition, start by removing all personal belongings and movable items from the work area, securing utilities like water and electricity, protecting adjacent spaces with barriers, and confirming that all necessary permits are in place. Proper preparation prevents delays, protects your property from unnecessary damage, and ensures the safety of everyone involved in the project.
Why Property Preparation Matters Before Demolition Work
Light demolition projects involve removing walls, built-in structures, cabinets, or fixtures without taking down entire buildings. Unlike full-scale demolition, these smaller projects often happen inside occupied homes or commercial spaces where protection and precision matter most.
Poor preparation leads to avoidable problems. Dust spreads to clean areas, debris damages flooring, utilities cause delays when not properly shut off, and missing permits halt work entirely. Each of these issues costs time and money that proper planning prevents.
The difference between a smooth three-day project and a two-week ordeal usually comes down to what happened before the first wall came down. Your preparation work directly determines how quickly crews can complete the job and how much cleanup you face afterward.
Understanding What Light Demolition Actually Includes
Light demolition covers non-structural interior work that changes room layouts or removes built-in features. Common projects include tearing out old kitchens, removing interior walls that don’t bear weight, pulling up tile or hardwood floors, dismantling bathroom fixtures, and taking out built-in shelving or cabinetry.
This type of work requires different preparation than full demolition. You need to protect surrounding areas rather than clear an entire structure. Utility shut-offs are selective rather than complete. Debris removal happens in stages instead of one massive haul.
Professional Light Demolition Services handle both the teardown and the cleanup, but your preparation work before they arrive determines whether they can start immediately or spend billable hours moving items and covering surfaces you could have handled yourself.

Clearing the Work Area Completely
Remove everything from the demolition zone that isn’t attached to the structure. This includes furniture, decorations, window treatments, area rugs, electronics, and anything stored in closets or cabinets within the work area.
Don’t stop at the immediate demolition space. Clear adjacent rooms within 10 to 15 feet of the work zone. Dust and debris travel farther than most people expect, and demolition crews need space to maneuver materials out of your property.
For items too large to move easily, professional Furniture and Large Items Removal services can handle the heavy lifting before demolition begins. This prevents your project timeline from stalling while you figure out how to move that oversized sectional or antique armoire.
Protecting Surrounding Spaces and Surfaces
Demolition creates dust that penetrates every gap and travels through ventilation systems. Seal off the work area with heavy plastic sheeting secured with painter’s tape. Cover doorways completely, and if possible, create a double barrier with an air gap between layers.
Protect floors in pathways between the demolition area and the exit point. Contractors typically use rosin paper or heavy cardboard, but you can lay this protection yourself before crews arrive. For hardwood or tile floors you want to preserve, use both a cushioning layer and a hard surface layer.
Remove or protect HVAC vents in the work area. Dust drawn into ductwork spreads throughout your entire property and requires expensive professional cleaning to remove. Seal supply and return vents with plastic and tape, or remove vent covers and seal openings with cardboard and plastic barriers.
Managing Utilities and Safety Hazards in Marysville Properties
Identify every utility line that runs through your demolition area. Water lines, electrical wiring, gas lines, and HVAC ducts all require different handling. For walls containing plumbing or electrical, hire licensed professionals to disconnect and cap these systems before demolition begins.
Never assume walls are empty. Many Marysville homes built between the 1960s and 1990s have unexpected wiring or plumbing runs that don’t follow modern code patterns. A $200 pre-demolition inspection by an electrician or plumber costs far less than repairing a severed pipe or dealing with an electrical fire.
Test for asbestos and lead paint if your property was built before 1980. These materials require certified abatement before demolition can proceed legally. Skipping this step creates serious health hazards and potential legal liability that no amount of saved time justifies.
Permit Requirements and Compliance Steps
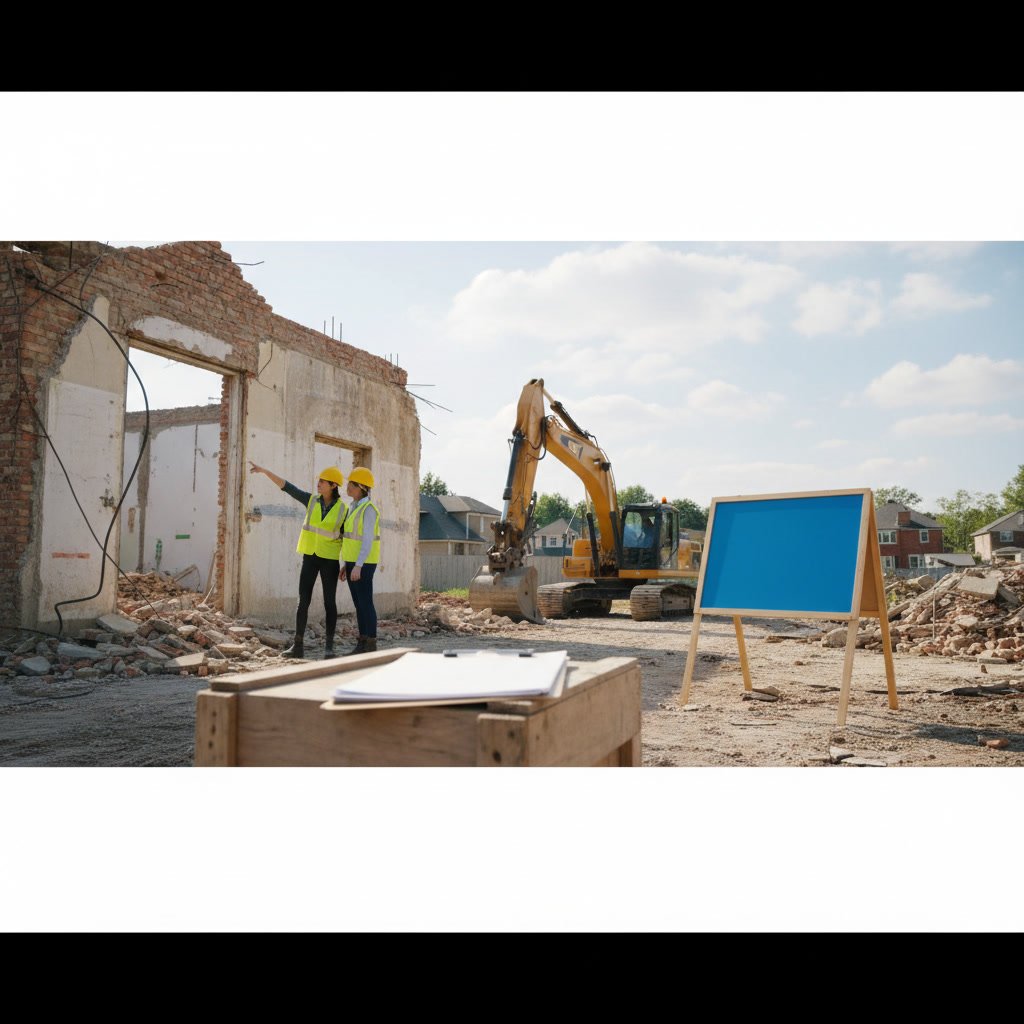
Most light demolition projects require permits, even when you’re not touching load-bearing structures. Check with your local building department about specific requirements. Permit applications typically need drawings showing what you’re removing, confirmation that no structural elements are affected, and sometimes engineer approval.
The permit process usually takes one to three weeks. Submit applications early, ideally before you hire contractors or schedule work. Starting demolition without required permits can result in stop-work orders, fines, and requirements to restore everything before you can proceed legally.
Keep permits and approved plans at the job site where inspectors can easily access them. Some jurisdictions require mid-project inspections before you can proceed to certain phases or close up walls after utility work.
Six Steps to Organize Demolition Debris Removal
First, estimate debris volume. A standard kitchen demolition generates 15 to 25 cubic yards of waste, roughly equivalent to six to ten pickup truck loads. Second, designate a staging area outside where debris can accumulate safely without blocking driveways or sidewalks.
Third, separate materials by type if possible. Wood, metal, drywall, and fixtures often go to different facilities. This separation improves recycling rates and sometimes reduces disposal costs. Fourth, schedule Construction Debris Removal in advance rather than waiting until debris piles up.
Fifth, identify any items worth donating before demolition begins. Cabinets, fixtures, and appliances in working condition can often find new homes through Donation Pickup Services, reducing both waste and disposal costs. Sixth, confirm that your removal service accepts all materials you’re discarding, since some items require special handling.
Timing Your Project and Coordinating Service Providers
Light demolition typically happens faster than people expect. A single interior wall comes down in hours, but the preparation and cleanup phases take days. Plan your timeline around the entire process, not just the demolition itself.
Coordinate all service providers before work begins. Your demolition crew, debris removal team, utility contractors, and any specialty services need to work in sequence without gaps. A two-day gap between demolition completion and debris removal means you’re living with a pile of rubble and paying for storage space you don’t need.
If you’re managing multiple service providers yourself, build in buffer days between phases. Professional project managers know that back-to-back scheduling without flexibility leads to cascading delays when any single phase runs over.
What to Do With Salvaged Materials and Reusable Items
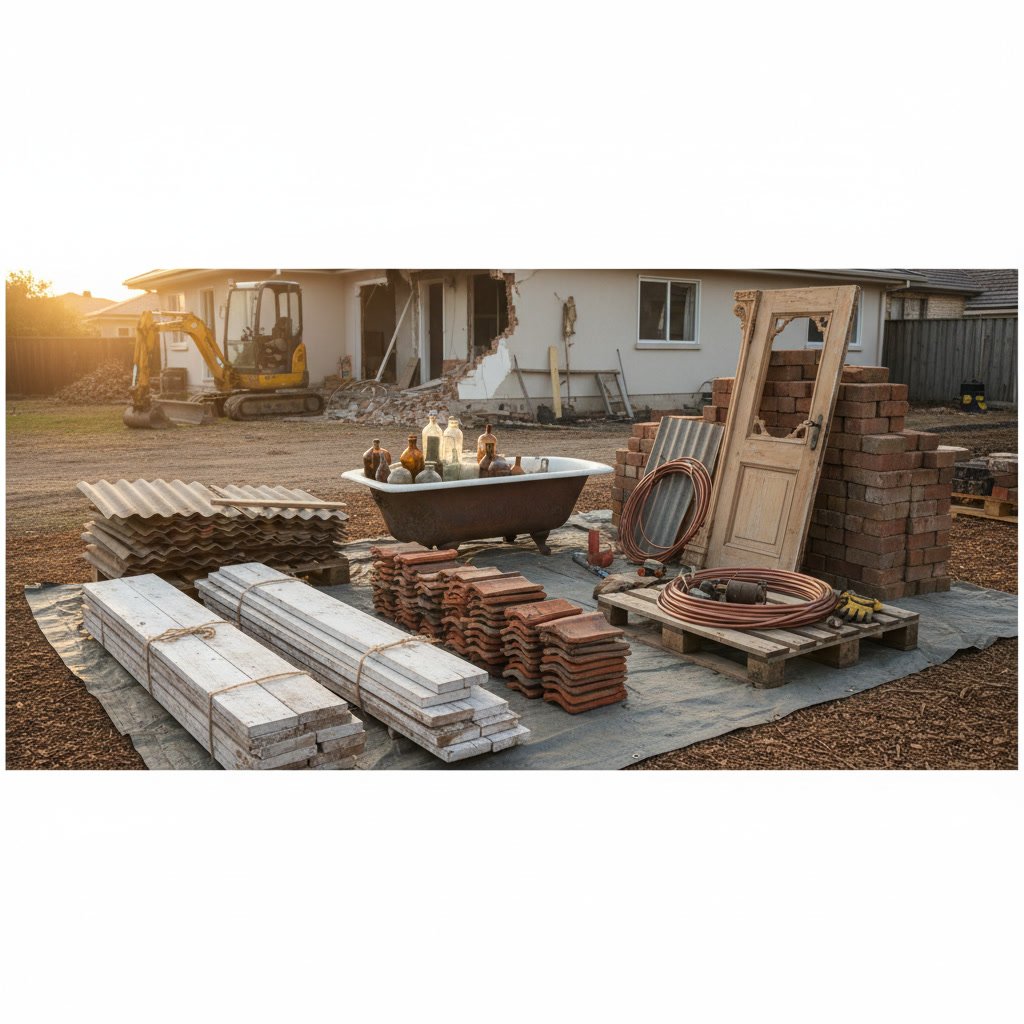
Decide before demolition which materials you want to save. Hardwood flooring, vintage fixtures, solid wood cabinets, architectural details, and metal components often have resale or reuse value. Mark these items clearly and communicate your salvage priorities to demolition crews.
Careful removal takes longer and costs more than destructive demolition. If you’re hiring contractors, specify salvage requirements in writing and confirm they have experience with careful removal. Not all demolition teams have the skills or patience for salvage work.
For items you’re discarding but that retain value, post them free on community forums or arrange donation pickup before demolition day. Someone else’s perfect cabinet is your space-consuming obstacle once it’s torn out and stacked in your garage.
Safety Equipment and Access Considerations
Ensure demolition crews have clear access to your property and the work area. Move vehicles, clear walkways, unlock gates, and remove any obstacles between the entry point and demolition zone. Time spent navigating obstacles is time you’re paying for without productive work happening.
If your project involves second-floor work, confirm that crews can safely move debris downstairs without damaging railings, walls, or flooring. Some items require temporary railing removal or extra protection on stairs.
Designate a parking area for service vehicles that doesn’t block neighbors or violate local ordinances. Demolition trucks, dumpsters, and equipment trailers occupy significant space. Check whether you need street parking permits for commercial vehicles in residential areas.
Working With Professional Teams Gets Your Property Ready
The most efficient light demolition projects happen when property owners handle preliminary clearing and professionals manage specialized preparation. You can move personal belongings and small items yourself, but utility disconnection, structural assessment, and hazardous material testing require licensed expertise.
Sno King Hauling Junk Removal combines preparation support with efficient debris removal, helping property owners in Marysville coordinate all phases of their light demolition projects. Professional teams spot potential issues before they become problems, from hidden utilities to structural concerns that require engineer review.
The investment in proper preparation and professional coordination pays returns in faster project completion, lower total costs, and fewer surprises. Projects that start correctly finish on schedule. Those that skip preparation steps inevitably face delays that erase any initial savings from cutting corners.
Whether your project involves a single room or multiple spaces, taking time to prepare properly protects your property, keeps your timeline on track, and ensures that everyone involved can work safely and efficiently. When you’re ready to move forward with your light demolition project, reach out to experienced professionals who can guide you through each preparation step and handle debris removal efficiently. Call +14253226782 to discuss your project timeline and get expert advice on preparing your property for successful demolition work.